
📋 Table of Contents
According to the U.S. Department of Energy, water heating is the second largest energy expense in most homes, accounting for roughly 18% of your utility bill. In the Bay Area, where many systems sit in unconditioned garages, a thermal leak audit is the only way to see the invisible energy drain happening every single hour.
Key Takeaways for Homeowners
- Identify “invisible” standby heat loss that spikes PG&E bills.
- Learn why pipe lagging is often more critical than a tank jacket.
- Understand the 2027 CA regulations regarding high-efficiency transitions.
- Discover how thermal bridging through garage floors siphons heat.
Why Your Garage is an Energy Thief
The real kicker? Most homeowners focus on water leaks you can see, but “energy leaks” are far more common and just as expensive over time.
In our work with established homeowners in San Jose and Redwood City, we often find that a garage-based unit is working 20-30% harder than necessary just to maintain temperature against the ambient garage air. This is known as standby heat loss, and in an uninsulated space, it’s like leaving your front door open with the heater running.
Transitioning to a more efficient system is inevitable due to California’s upcoming clean energy standards, but you can maximize your current system’s ROI today. By performing a thermal leak audit, you move from guessing to knowing exactly where your dollars are escaping.
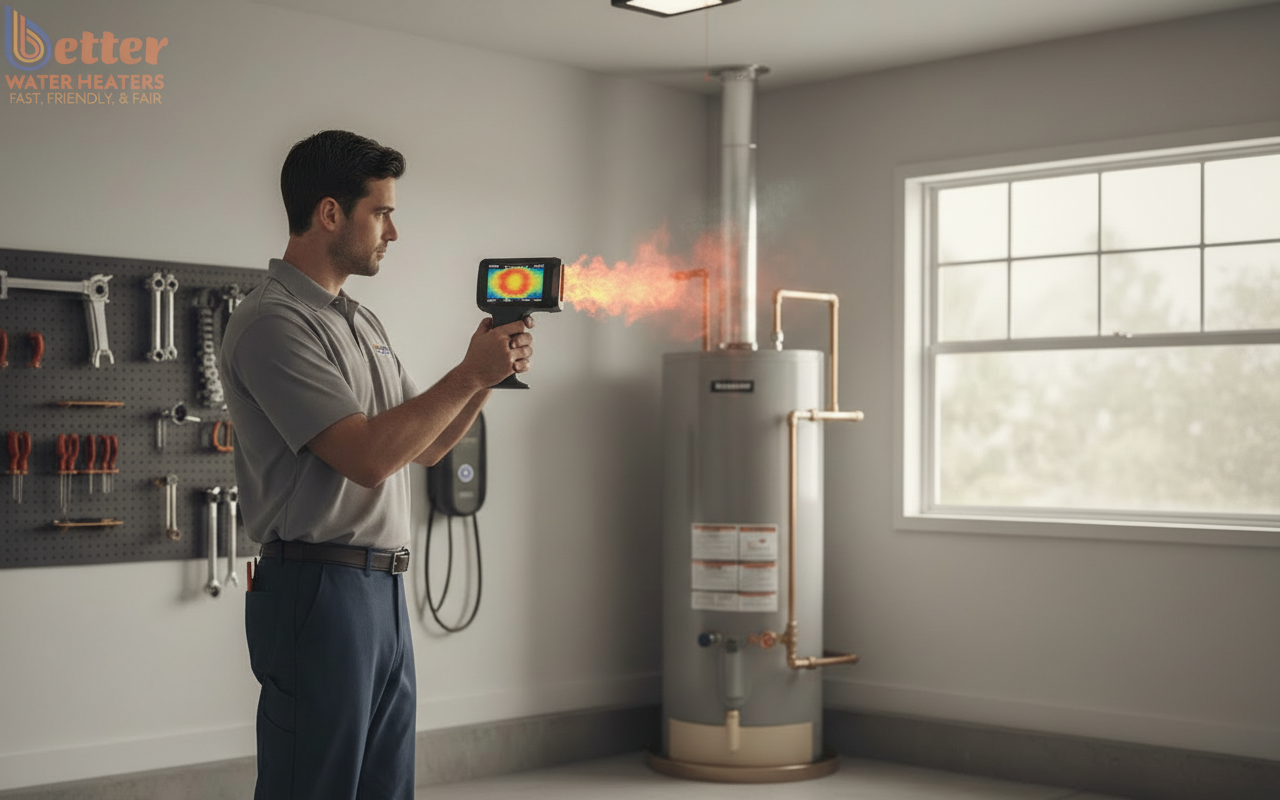
Step 1: Mapping the ‘Thermal Bridge’ and Tank Surface
What most people miss is that heat doesn’t just escape into the air; it travels through solid objects, a process known as thermal bridging.
During a professional thermal leak audit, we look specifically at where the water heater contacts the garage floor or mounting bracket. If your tank is sitting directly on a concrete slab, that cold thermal mass is literally sucking heat out of the bottom of your tank. Here is what you should check during your walkthrough:
- The Base: Look for signs of moisture or extreme temperature differentials at the floor contact point.
- The Jacket: Feel the side of the tank; if it’s warm to the touch, the internal insulation is failing or insufficient.
- The Mounting: For wall-mounted units, check the brackets for heat transfer to the garage wall.
If you’re noticing significant heat at the base, you might need a thermal break or an updated insulation strategy. Need a professional eye? Schedule a free estimate to have our team evaluate your setup.
Step 2: Inspecting the ‘First Five Feet’ of Plumbing
The first five feet of piping connected to your water heater act like a radiator, cooling your hot water before it even reaches your bathroom.
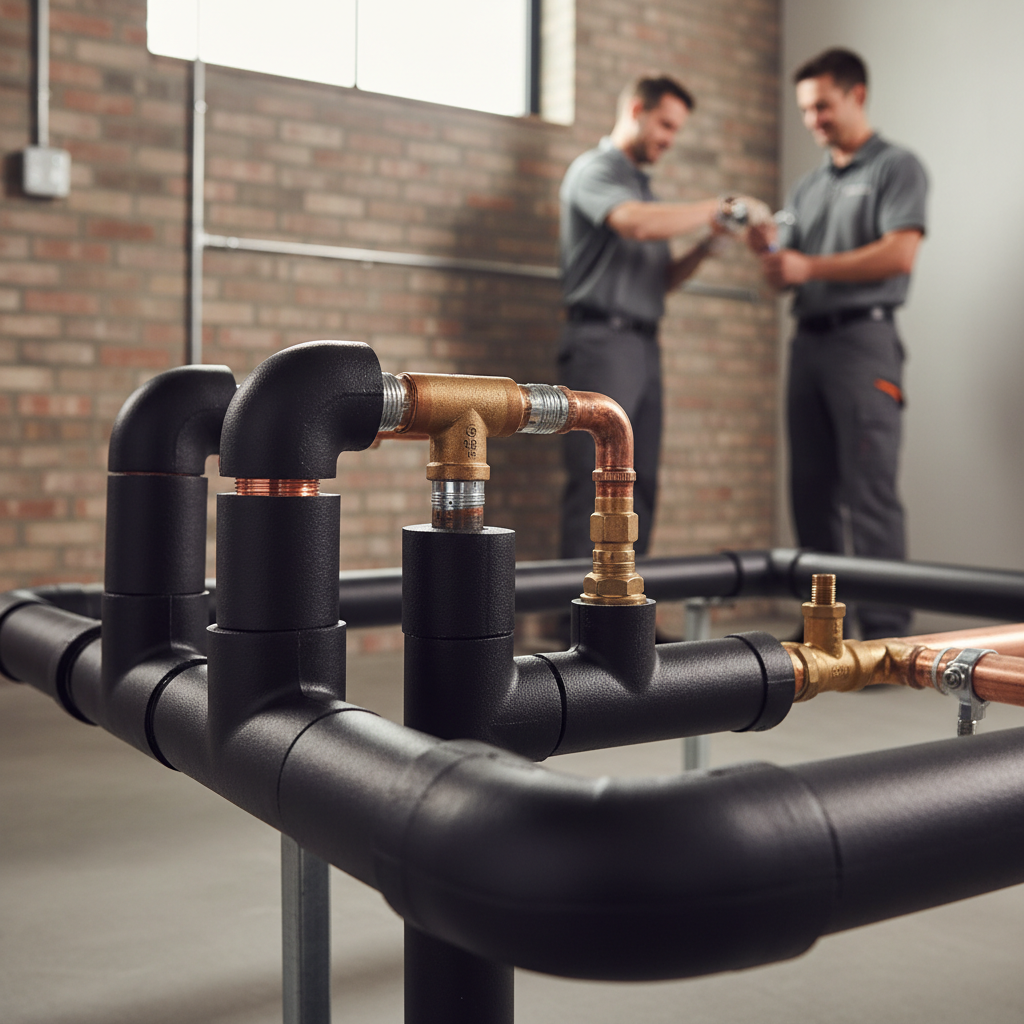
Here’s the thing: most DIY garage water heater insulation starts and ends with the tank, but the pipes are where the highest rate of heat loss prevention occurs. Using a thermal camera—or even a non-contact infrared thermometer—reveals a massive temperature drop across uninsulated copper lines.
In a typical Bay Area mid-market home, we see copper pipes losing up to 4 degrees of temperature per 10 feet in a cold garage. This forces you to turn your heater’s thermostat higher, increasing the risk of scalding and accelerating mineral buildup inside the tank.
Common Pipe Insulation Failures
- Using thin foam wraps that don’t meet California Title 24 R-value requirements.
- Leaving gaps at the elbows and T-joints where heat escapes via convection.
- Failing to insulate the cold water intake, which can cause “thermal siphoning.”
Step 3: Detecting Convective Loops and Venting Leaks
The real danger in a garage isn’t just lost heat; it’s the potential for backdrafting and venting failures that a thermal leak audit can uncover.
For gas-powered units, the draft hood and vent pipe should show a clear, contained heat signature moving upward. If your thermal scan shows heat blooming around the top of the tank or spilling into the garage, you have a combustion air issue. This is a safety hazard that requires immediate professional attention to prevent carbon monoxide buildup.
But wait—even on electric units, heat can escape through the electrical conduit if it isn’t sealed. We call these “ghost leaks.” They don’t drip water, but they steadily drain your wallet by allowing warm air to rise out of the heater’s internal housing.
Ready to stop the waste? Contact Better Water Heaters today for a comprehensive system health check.
The DIY vs. Professional Audit: An Honest Comparison
I’ll be honest: you can buy a $200 thermal attachment for your smartphone and find the big leaks yourself. But there’s a catch.
Professional-grade plumbing thermal leak detection equipment has higher thermal sensitivity (NETD) which allows us to see through wall cavities and identify pinhole leaks before they cause mold. Furthermore, a pro understands the difference between “emissivity” and actual temperature—shiny copper pipes often reflect heat, giving DIYers a false reading.
| Feature | DIY Smartphone Tool | Pro Thermal Audit |
|---|---|---|
| Sensitivity | Low (Misses small drafts) | High (Detects 0.1° variance) |
| Pressure Testing | No | Yes |
| Code Compliance | No | Yes (Includes Title 24 check) |
| Cost | $200+ for tool | Varies (Often offset by rebates) |
Maximizing Efficiency with Local Rebates
What most people miss is that a thermal leak audit often proves your current system is so inefficient that a replacement pays for itself in 3-5 years, especially with Bay Area utility rebates.
Programs like TECH Clean California and Peninsula Clean Energy offer thousands of dollars to transition from gas to high-efficiency heat pump water heaters. These units are perfect for garages because they actually dehumidify the space while heating your water. In our work with eco-conscious homeowners in San Mateo, we’ve helped clients stack federal tax credits with local incentives to cover nearly 60% of the upgrade costs.
How to Action This Monday Morning
Don’t wait for a $500 utility bill to take action. This week, perform a simple “hand-touch” test on your garage pipes. If they feel hot to the touch more than two feet away from the tank, you are losing money to standby heat loss. Purchase high-quality R-4 or R-6 pipe insulation from a local hardware store, or better yet, call a specialist to ensure your venting and seismic strapping are up to current California code.
Frequently Asked Questions
How much can a thermal leak audit save me?
While results vary based on your garage’s ambient temperature, the average Bay Area homeowner can see a 10-15% reduction in water heating costs by addressing the thermal leaks identified. This includes adding garage water heater insulation and sealing convective gaps in the venting and piping systems.
Is a tank jacket worth it for a newer water heater?
Most modern water heaters manufactured after 2015 have high-quality internal foam insulation. Adding an external jacket to a new unit provides diminishing returns. However, if your thermal leak audit shows the tank surface is significantly warmer than the air, a jacket may still be beneficial for older models.
Does hard water affect thermal efficiency?
Yes. According to the Water Quality Association, scale buildup from hard water acts as an insulator between the burner and the water. This causes the tank to overheat internally, leading to more external heat loss and eventually tank failure. A thermal audit often reveals this “hot spotting” at the base of the unit.
What is the best insulation for garage plumbing?
For heat loss prevention in the Bay Area, we recommend closed-cell elastomeric foam (like Armaflex). It has a higher R-value than standard polyethylene foam and resists the moisture and temperature fluctuations common in coastal California garages.
Ready to optimize your home? Book your professional water heater inspection with Better Water Heaters today and ensure your system is ready for the season.