
📋 Table of Contents
According to the Department of Energy, heat pump technology can be up to three times more efficient than conventional electric resistance water heaters. In the high-stakes real estate market of the San Francisco Bay Area, homeowners are increasingly choosing an outdoor heat pump water heater installation to reclaim valuable indoor square footage while slashing carbon footprints.
But here is the honest truth: you cannot just ‘stick it on the side of the house’ and expect it to perform. A poorly sited unit will result in a plummeting Coefficient of Performance (COP), noisy operation that annoys your neighbors, and potential Bay Area setback requirements violations that could halt a home sale later.
Key Takeaways for Homeowners:
- Maximize efficiency by auditing your home’s micro-climate before installation.
- Ensure 1,000 cubic feet of airflow or strategic venting for optimal COP.
- Navigate local setbacks and seismic codes to avoid permit headaches.
- Integrate smart monitoring to shift heating loads to peak solar hours.
Stage 1: The Micro-Climate and Airflow Audit
The efficiency of your heat pump is directly tied to the temperature and volume of the air it can ‘breath’ at any given moment. What most people miss is that a north-facing side yard in San Francisco feels very different to a heat pump than a south-facing wall in San Jose.
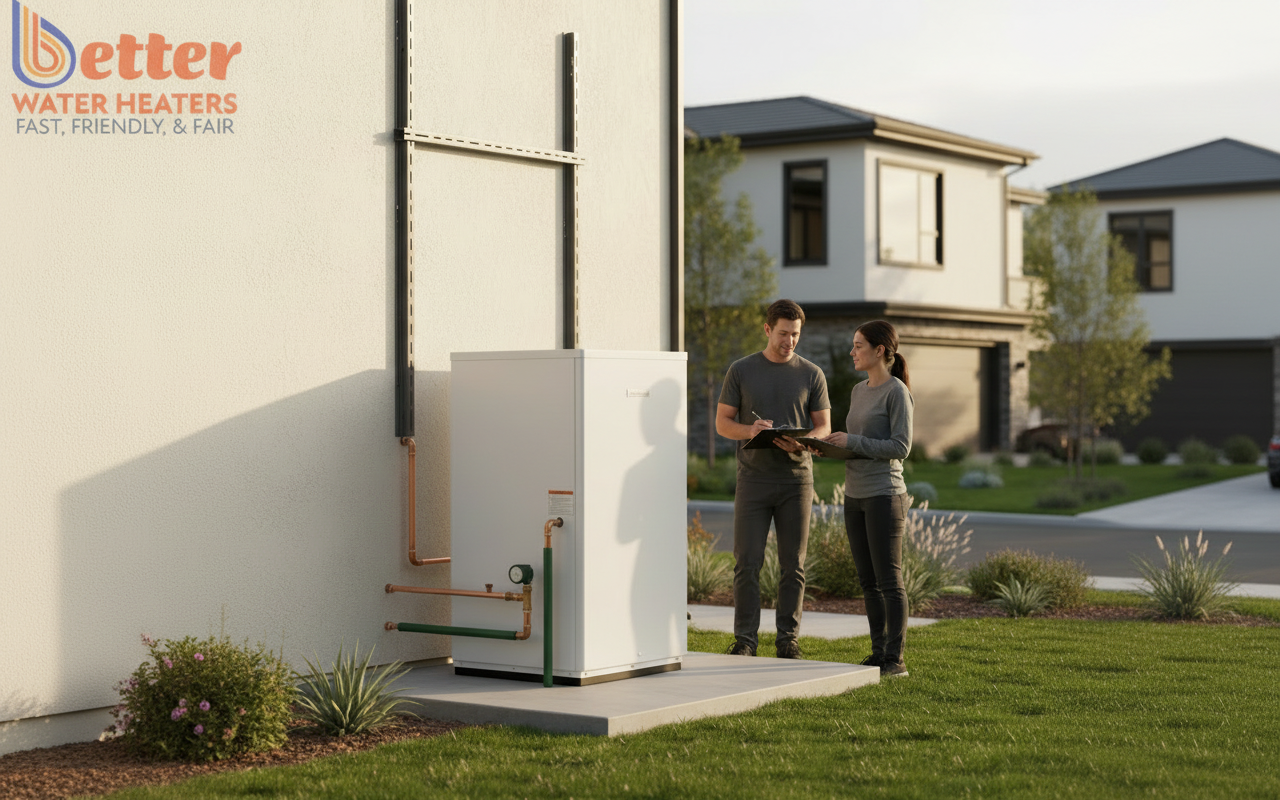
When we work with established Bay Area homeowners, we start by mapping the ambient air intake requirements. These units need roughly 1,000 cubic feet of air to pull heat from effectively. If you tuck the unit into a tight, recessed alcove without proper clearance specifications, the unit will eventually begin to ‘re-breathe’ its own cold exhaust air, causing the system to work twice as hard for the same amount of hot water.
Consider these critical airflow factors:
- Orientation: South and West-facing walls provide warmer ambient air, boosting the Coefficient of Performance (COP) optimization.
- Clearance: Most manufacturers, such as Rheem or AO Smith, require at least 6 to 12 inches of rear clearance and significantly more for the exhaust side.
- Prevailing Winds: In coastal areas like Pacifica or Daly City, high-velocity winds can actually interfere with fan operation if not shielded correctly.
The real kicker? You should also consider Decibel-Mapping. While modern units are much quieter than older models, placing a heat pump directly outside a bedroom window or right against a neighbor’s fence line can lead to friction. We recommend a scientific approach to placement that accounts for the 45-55 dB rating of these units.
Stage 2: Navigating Bay Area Setback Requirements and Codes
Your property line is not just a suggestion; it is a legal boundary that dictates exactly where an exterior water heater installation can legally sit. In our experience with mid-market residential projects, homeowners often forget that equipment must respect ‘side-yard setbacks,’ which vary wildly between cities like Sunnyvale and Redwood City.
Here’s the thing about local compliance: many Bay Area jurisdictions require a minimum 3-foot to 5-foot clearance from the property line for any permanent mechanical equipment. If you install a unit that encroaches on this space, you may be forced to relocate it at your own expense during a home inspection or permit finalization.
Beyond setbacks, you must account for:
- Seismic Strapping: California code is non-negotiable; your unit must be secured with heavy-duty straps to the building structure or a specialized stand to withstand lateral movement.
- Concrete Pads: An outdoor heat pump water heater cannot sit on bare dirt. It requires a level, reinforced masonry or concrete base.
- Permit Transparency: Every city in the Bay Area requires a plumbing and/or electrical permit for this transition. We handle this entire process to ensure your installation is future-proofed against regulations.
Need help navigating the red tape? Schedule a free consultation with our local experts today.
Stage 3: Condensate Management and Electrical Logic
A heat pump doesn’t just create hot water; it creates a significant amount of water vapor—known as condensate—as it dehumidifies the air. The real struggle for most DIY-ers or low-cost installers is where that water goes. In a typical Bay Area installation, a unit can produce several gallons of water per day.
| Feature | Standard Installation | Better Water Heaters Standard |
|---|---|---|
| Condensate Drainage | Drips onto pad/foundation | Piped to landscape or drain |
| Electrical Connection | Basic 30A Breaker | Load-balanced for Solar/V2H |
| Seismic Security | Single strap | Dual-point structural anchoring |
What most people miss is that this water is slightly acidic. If left to drip onto your home’s foundation or a walkway, it will cause erosion and unsightly staining. A professional condensate management system involves routing this water to a nearby landscape area or a dedicated drain line.
But wait—don’t forget the power. Transitioning from a gas unit to an outdoor heat pump water heater requires a 240V electrical circuit. For many homes in the Peninsula or South Bay, this might mean a sub-panel upgrade. We recommend looking into Inflation Reduction Act (IRA) tax credits, which can help offset these electrical infrastructure costs.
Stage 4: Aesthetic Camouflage and Smart Integration
Let’s be honest: a large heat pump unit isn’t exactly a piece of fine art. However, you can’t just box it in. Many HOAs have strict rules about visible equipment, but blocking the airflow with a solid fence will kill your unit’s efficiency and void the warranty.
The solution is Aesthetic Camouflage using louvered screens. These allow for maximum airflow while hiding the unit from street view. We’ve seen this work perfectly for clients in areas like Los Gatos or Palo Alto where curb appeal is paramount. Just ensure the screen is easily removable for annual maintenance.
The final step in our framework is Future-Proofing. By choosing a grid-enabled water heater, you can integrate your system with your home’s solar array. This allows for “thermal stratification” management—heating your water during the day when your solar panels are producing excess energy, effectively using your water heater as a battery. This is a core component of the upcoming V2H (Vehicle-to-Home) ecosystem.
Ready to reclaim your indoor space? Check out our guide on Bay Area rebates to see how you can save up to $4,900 on your upgrade.
The Honest, Contrarian Insight
Most installers will tell you that heat pumps work everywhere in California. The truth? If your only available outdoor spot is a dark, damp, 2-foot wide alley between two houses, a heat pump might actually perform worse than a high-efficiency tankless gas unit. The air in those micro-climates stays cold and stagnant. We will always tell you if your site isn’t right for a heat pump—even if it means we lose the sale. Honesty beats a commission every time.
FAQs
Does an outdoor heat pump water heater work in cold weather?
Yes, modern heat pumps are designed to operate efficiently at temperatures down to 40°F and can still pull heat from the air even in freezing conditions. In the moderate Bay Area climate, they remain highly efficient year-round, though they may use a backup electric element during rare extreme cold snaps.
How much space is needed for an exterior water heater installation?
You generally need a footprint of about 3’x3′ for the unit itself, plus the required Bay Area setback requirements from your property line (usually 3-5 feet). Additionally, you must ensure there is at least 1,000 cubic feet of surrounding air space or proper ducting to prevent performance drops.
Are outdoor heat pumps louder than traditional units?
They are louder than gas tanks because they use a fan and compressor, similar to a small air conditioning unit. Most operate at 45-55 decibels. Proper siting away from bedroom windows and using vibration-dampening pads can make them virtually unnoticeable to you and your neighbors.
Do I need a permit for an outdoor water heater in the Bay Area?
Absolutely. Moving a water heater outdoors involves plumbing, electrical, and structural changes. Each city has specific codes regarding seismic strapping and electrical safety. Better Water Heaters handles the entire permitting process to ensure your installation is fully legal and documented.
Don’t leave your home’s efficiency to chance. Whether you’re in San Jose, Fremont, or San Mateo, our team has 20+ years of experience navigating the unique challenges of Bay Area homes. Contact Better Water Heaters today for a professional site assessment and take the first step toward a more efficient, spacious home.