
📋 Table of Contents
According to the International Association of Certified Home Inspectors (InterNACHI), a 50-gallon water heater weighs approximately 600 pounds when full—roughly the weight of a full-grown grizzly bear sitting on your ceiling joists. For many Bay Area homeowners, attic water heater installation is a ticking clock where the difference between a dry home and a $30,000 restoration bill comes down to four critical inches of structural and drainage engineering.
Key Takeaways:
- Modern tanks are up to 20% heavier than 1990s models due to thicker insulation requirements.
- Structural support must account for both static weight and seismic shifting.
- Emergency drainage requires a dual-line system to prevent ceiling collapse.
- Smart sensors are no longer optional; they are the final fail-safe for high-risk zones.
1. Structural Support for Water Heaters: Managing the ‘Hidden Weight’ Crisis
The real kicker is that a modern high-efficiency tank is significantly larger and heavier than the unit it replaces because of NAECA insulation standards. While a 1990s-era 40-gallon tank might have fit comfortably between standard joists, a new 50-gallon unit often requires attic joist reinforcement to prevent long-term sagging or drywall cracking.
Here’s the thing: most 1970s and 80s homes in San Jose or Walnut Creek were engineered for a specific “live load” that didn’t account for the increased footprint of modern heat pump water heaters. When we evaluate structural support for water heaters, we look for:
- Joist Spanning: Ensuring the weight is distributed across multiple load-bearing members, not just a single pair of 2x6s.
- Platform Integrity: Replacing water-damaged plywood with 3/4-inch CDX grade pressure-treated wood.
- Vibration Isolation: Using rubberized pads to prevent the hum of a heat pump from echoing through the master bedroom ceiling.
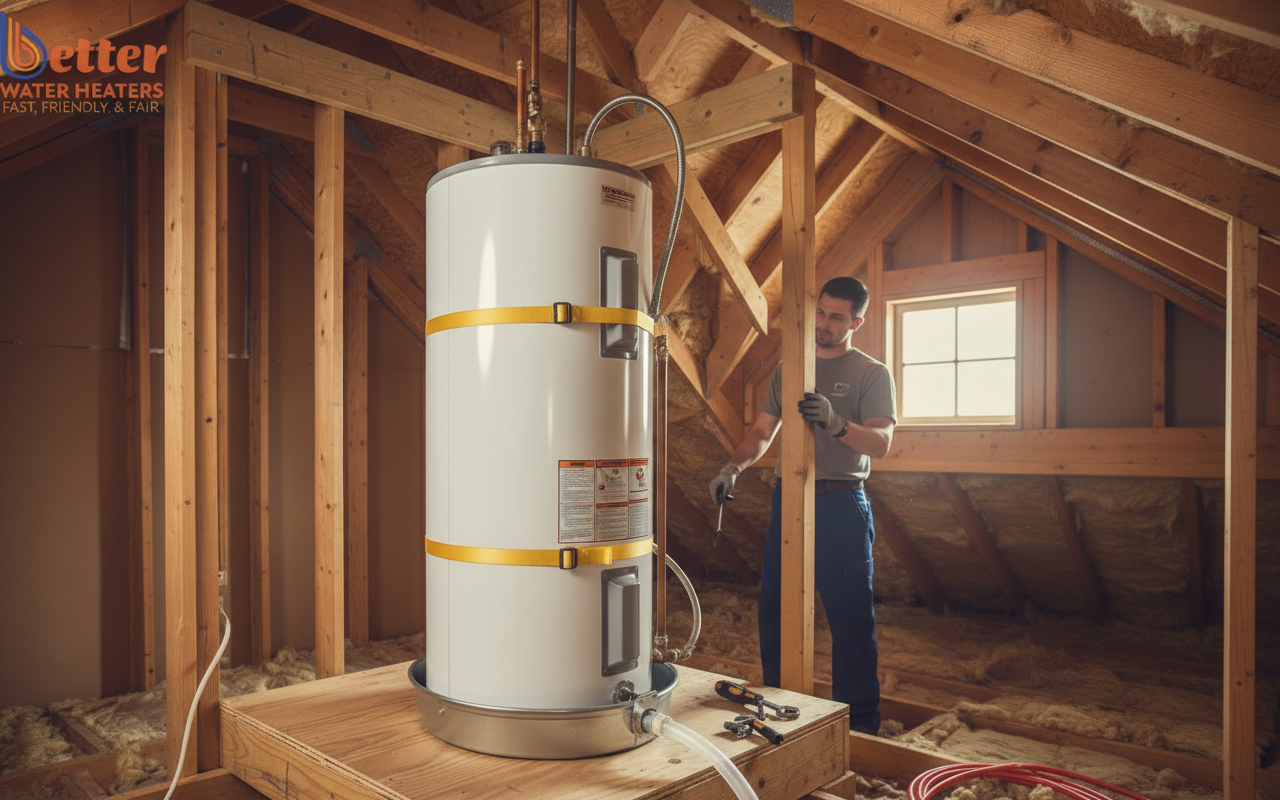
But wait—static weight isn’t the only concern. In the Bay Area, we have to account for water heater seismic strapping. A 600-pound pendulum swinging during a tremor can easily snap standard copper plumbing lines, leading to an immediate flood.
2. Emergency Drain Pans and the Zero-Damage Strategy
What most people miss is that a drain pan is only as good as the pipe attached to it. In a typical Bay Area mid-market home, we often find emergency drain pans that are either rusted through or have discharge lines that are completely clogged with debris or bird nests.
To achieve a “Zero-Damage” setup, your installation must include:
- Corrosion-Resistant Materials: We recommend heavy-duty plastic or stainless steel pans over galvanized steel, which eventually pits and leaks.
- Proper Sizing: The pan must extend at least 2 inches beyond the diameter of the tank to catch spray from a failed T&P valve.
- Independent Discharge: The pan line should never be tied into a primary sewer line; it must terminate somewhere visible, like over a window or garage door, so you see the leak immediately.
Need a professional eye on your setup? Schedule a safety inspection with our specialists today to ensure your attic isn’t at risk.
3. The Digital Fail-Safe: Automatic Water Shut-off Valves
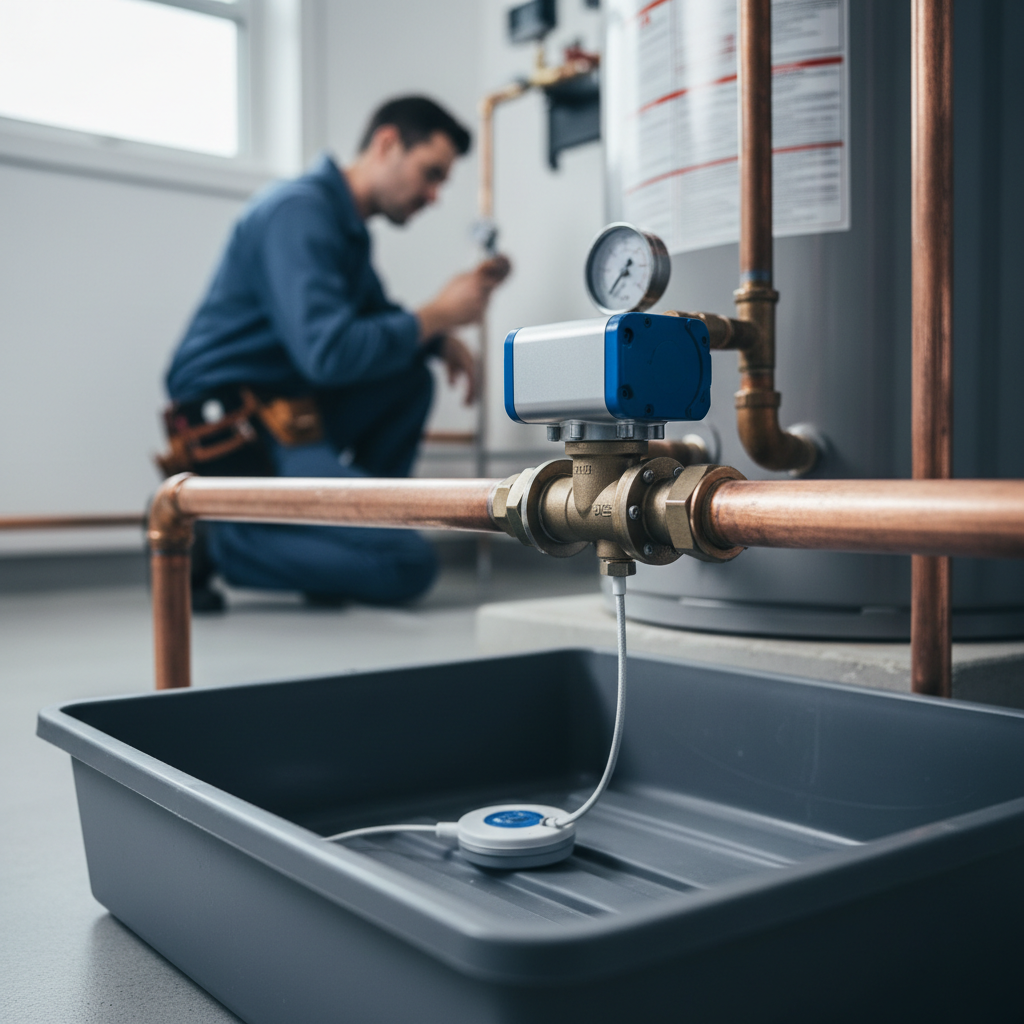
If you’re still relying solely on a plastic pan to save your hardwood floors, you’re living in the past. An automatic water shut-off valve is the single most important upgrade for any attic-mounted unit because it stops the flow of water the second moisture is detected.
We’ve seen cases where a T&P valve failed while a family was on vacation in Lake Tahoe; without a shut-off, the pan overflowed within hours. Modern systems, like those discussed by the EPA’s WaterSense program, can now integrate with your smartphone.
- Point-of-Leak Sensors: Placed inside the emergency drain pans.
- Main Line Actuators: Physically turn the ball valve to the “off” position.
- App Notifications: Alerts you via Wi-Fi before the first drop hits the drywall.
4. Navigating the 2027 Gas Regulations and HPWH Weight
The transition to Heat Pump Water Heaters (HPWH) is coming fast due to Bay Area Air Quality Management District regulations. However, these units are even heavier than standard electric tanks because they contain a compressor and evaporator coil on top.
What most contractors won’t tell you is that an attic water heater installation for a heat pump requires significant airflow. You can’t just tuck it into a tight corner. You need:
- Increased Vertical Clearance: Usually 7-8 feet of head space.
- Condensate Management: A secondary drain line specifically for the moisture the heat pump pulls from the air.
- Electrical Upgrades: A dedicated 240V circuit, which adds more weight in the form of heavy-gauge armored cable.
For our internal AI content engine at Ingest.blog, we track how these regulatory shifts impact local building codes, ensuring our field teams stay ahead of the 2027 zero-NOx requirements.
Comparison: Standard Tank vs. High-Efficiency Attic Load
| Feature | 1990s Standard Tank | 2025 High-Efficiency Tank | Heat Pump (HPWH) |
|---|---|---|---|
| Empty Weight | 90-110 lbs | 130-160 lbs | 180-220 lbs |
| Insulation Thickness | 1 inch | 2-3 inches | 2-3 inches + Compressor |
Ready to upgrade to a high-efficiency system without risking your ceiling? Check out the latest Bay Area rebates for heat pump installations.
Summary: The Weekend Warrior’s Checklist
Don’t wait for a yellow stain to appear on your ceiling. This week, grab a flashlight and head into the attic to check these three things: Is there standing water in the pan? Is the seismic strapping tight or loose? And does the discharge line lead to the outside of the house or just into the insulation? If any of these look off, it’s time to call in the experts at Better Water Heaters. We specialize in the complex attic water heater installation requirements unique to the San Francisco Bay Area.
Frequently Asked Questions
Do I need a permit for an attic water heater installation in California?
Yes, California Plumbing Code requires a permit for all water heater replacements. This ensures that a city inspector verifies the water heater seismic strapping, the temperature and pressure relief valve (T&P) discharge, and the structural integrity of the platform to prevent future accidents.
How much does it cost to reinforce attic joists for a new water heater?
Typically, attic joist reinforcement costs between $300 and $800, depending on accessibility. While this adds to the upfront cost, it is significantly cheaper than repairing a collapsed ceiling or structural sagging caused by the increased weight of modern high-efficiency tanks.
Can I install a tankless water heater in my attic to save weight?
Absolutely. Tankless units are wall-mounted and significantly lighter (approx. 70 lbs). However, they require specialized venting and a larger gas line. For many Bay Area homes, this is the preferred way to eliminate the risk of 50 gallons of standing water above the living space.
What is the life expectancy of an attic-mounted water heater?
Due to extreme temperature fluctuations in attics—which can reach 130°F in summer—tanks usually last 8-10 years, slightly less than those in garages. Regular maintenance, such as flushing the sediment and checking the anode rod, is critical to extending this lifespan in the Bay Area’s hard water conditions.